How to carve an Iberian ham step by step
Carving an Iberian ham well is the difference between enjoying it and wasting it. With the right technique you draw out its real flavour, it keeps in good condition for longer, and you make the most of every last slice. With the wrong technique, you lose half the piece in melted fat or thick strips that don’t taste of what they should.
This guide takes you step by step, assuming it’s the first time you’ve carved a ham at home. If you’ve been doing it for years, check the common-mistakes section at the end: some things are done out of habit and aren’t the best choice.
What tools do you need?
Before you cut the first slice, make sure you have these six tools to hand. Without them the carving is harder, more dangerous, and the result won’t be what you’d expect.
- Ham knife — a long blade (25–30 cm), narrow and flexible. This is the main instrument: it cuts the thin slices. It must be very sharp; a blunt ham knife pushes rather than glides.
- Rind knife or serrated knife — a wider, more rigid blade for removing the rind and the outer layer of fat before you reach the meat.
- Paring knife (puntilla) — a short, robust knife (12–15 cm) for marking and working around bones, and for precise cuts in narrow areas such as the jarrete or the codillo.
- Honing steel (chaira) — run three or four strokes every fifteen to twenty slices to keep the ham-knife edge live.
- Tongs — to pick up and plate the slices without touching them with your fingers. The heat of your hand changes the texture in seconds.
- Ham holder (jamonero) — the stand that holds the piece steady while you carve. Essential for safety and for slice quality. It must be stable, with an adjustable clamp, at elbow height when you stand.
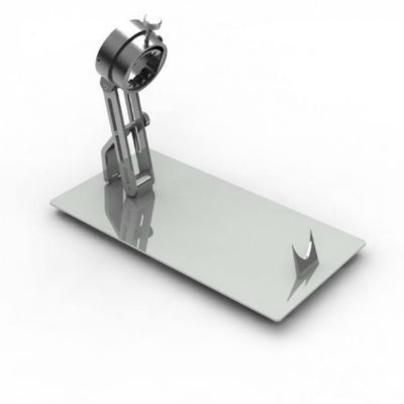
Slimmer profile than the S-HB6: all stainless steel, 360° swivel, four non-slip feet.
392,99 €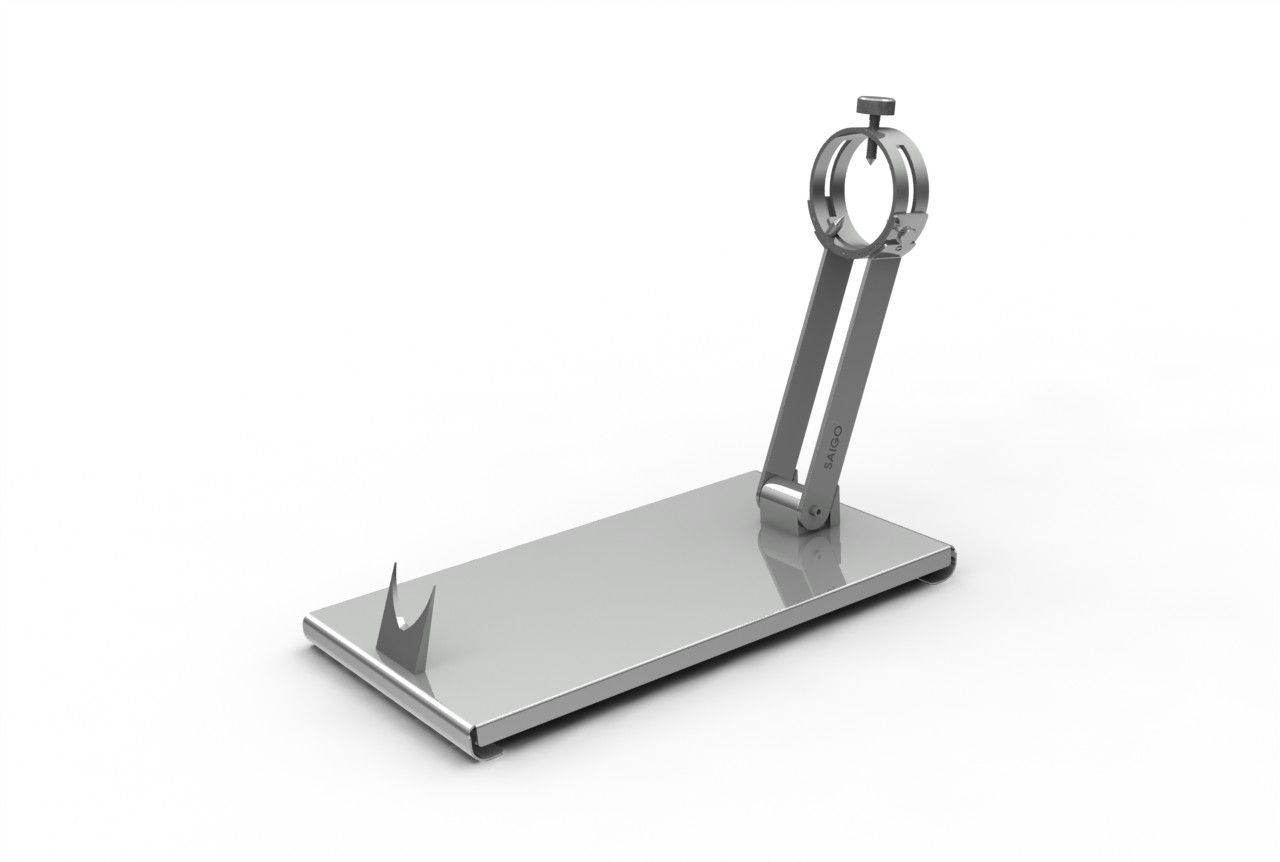
Saigo S-HB3 series (BG variant) professional steel holder with 360° swivel head.
169,29 €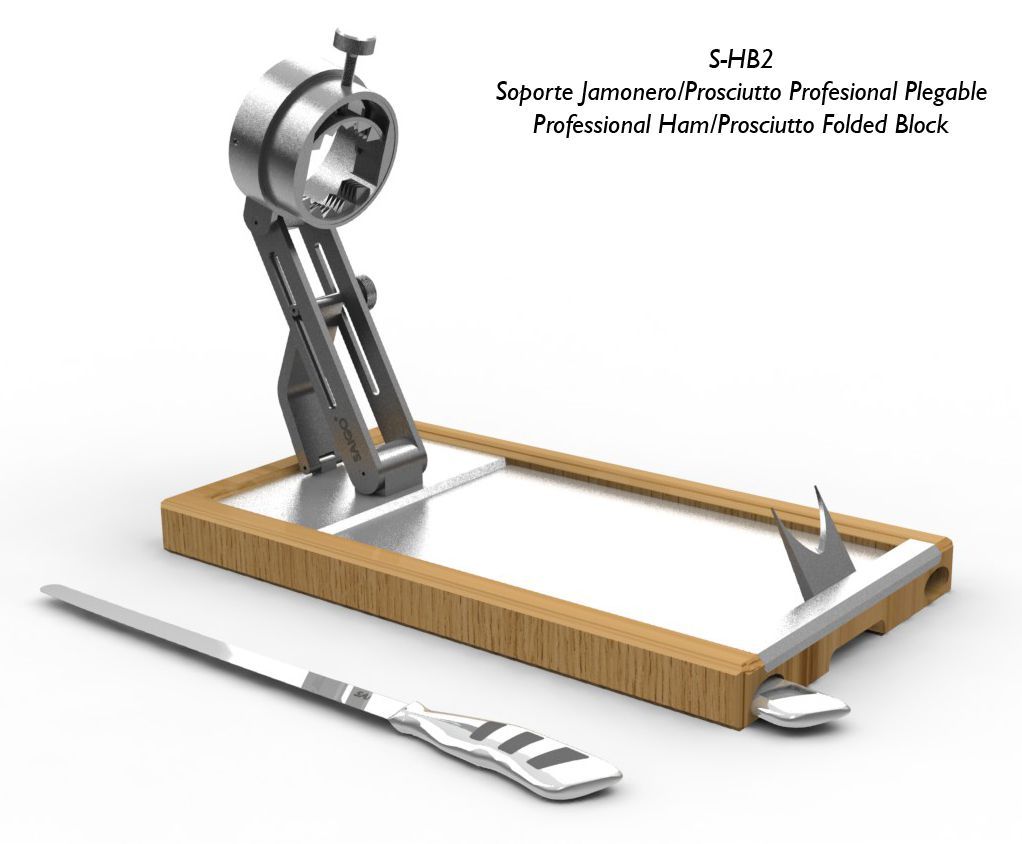
Treated bamboo base with stainless steel tray and two knife slots. Precision microfusion arm.
428,99 €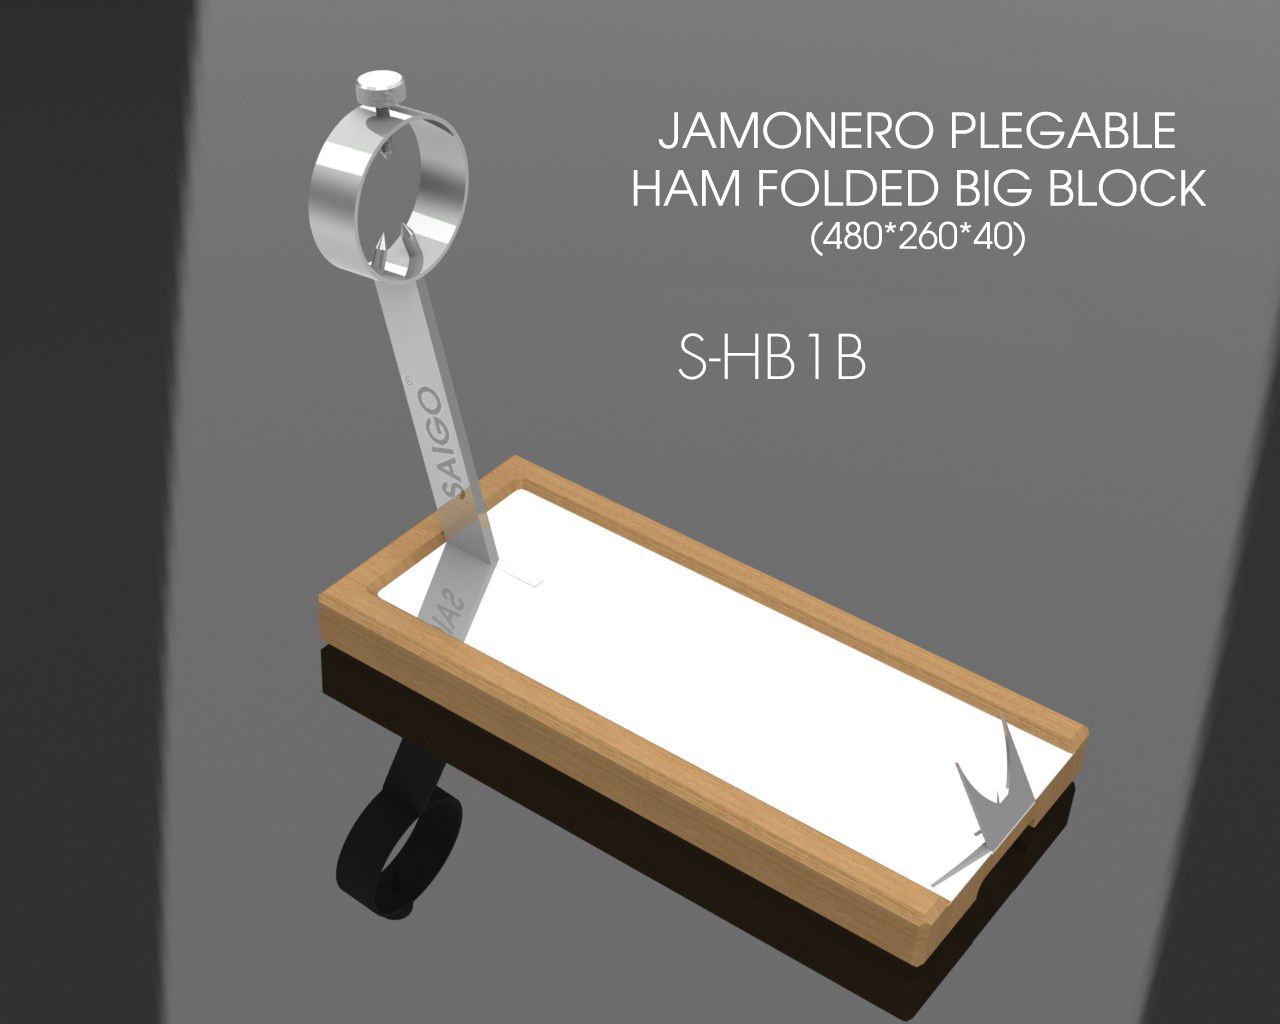
Wood and stainless steel with 360° swivel head, at an accessible professional price.
175,45 €The parts of the ham: what you are carving
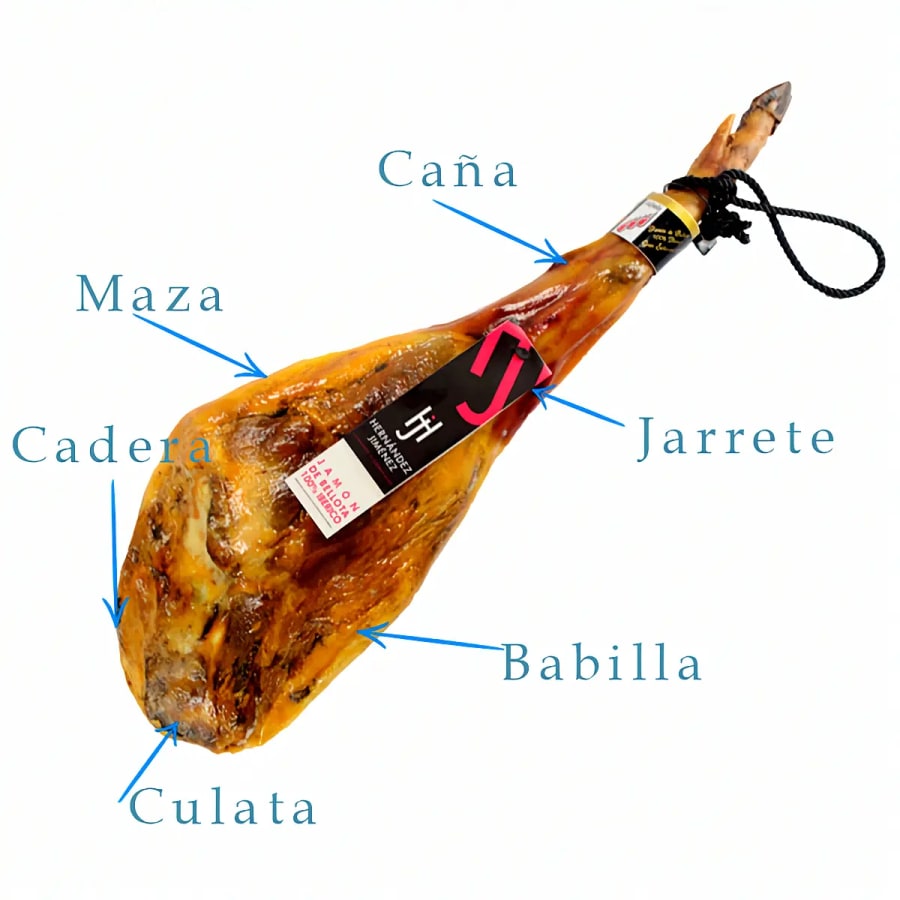
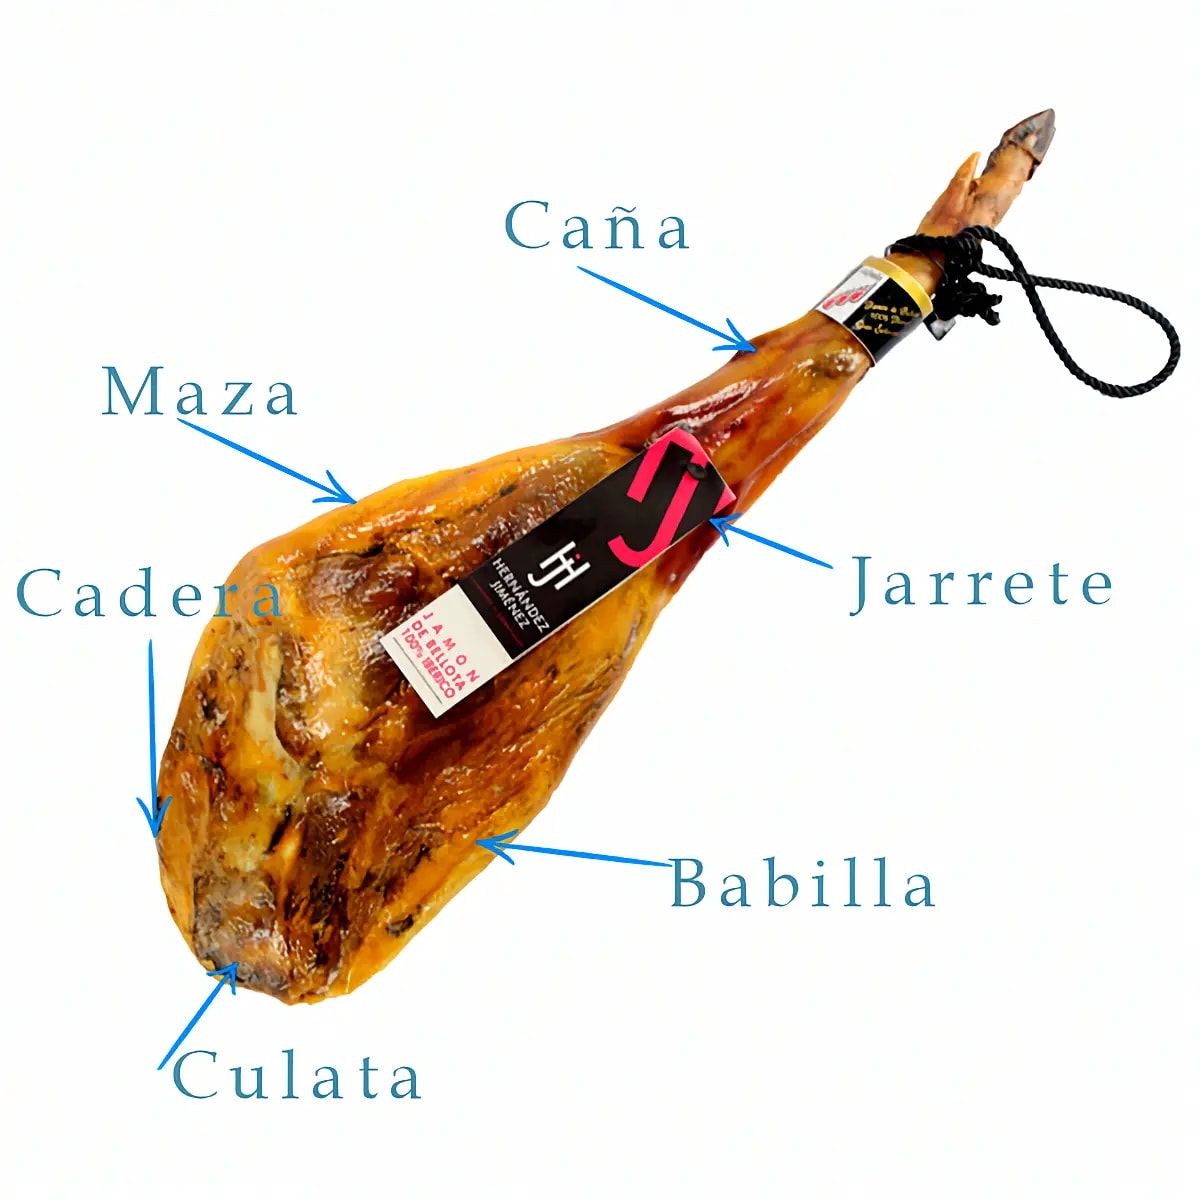
Understanding the parts of the ham before you start changes the whole process. Each zone has a different texture and flavour:
- Maza — the largest, roundest side, which faces upward when the hoof points toward you. This is where most of the meat is, with the richest fat marbling and the most unctuous flavour. It gives the most generous slices. If you plan to eat the ham quickly, start here.
- Contramaza — the side opposite the maza, also called the outer face. Slightly less meat but equally good. Once you flip the piece, this is what you work on.
- Babilla — the narrow side facing the pig’s hip. Less meat, but more cured and with a more concentrated flavour. Because it has a smaller exposed surface it dries out less — the right choice if you want to stretch the ham over months.
- Codillo — the joint between the shank and the maza. The meat here is more gelatinous and irregular, difficult to slice. Better left for diced pieces or shredded meat at the end.
- Jarrete — the lower part of the leg, near the hoof. Denser, more fibrous meat. Also better as dice than slices.
- Caña — the long, narrow bone that runs through the piece vertically. Not a cutting zone but the axis around which everything else turns.
How to set the ham on the holder
The starting position depends on how quickly you plan to eat it.
Hoof up — quick consumption. The maza is immediately accessible. Right for finishing the piece in days or a few weeks: a celebration, a large gathering, or daily use. The maza gives more slices and the acorn fat distributes better during carving.
Hoof down — slow consumption. You start on the babilla, which has less surface area exposed and dries out less. Correct if you’ll be carving a little at a time over one or two months. When the babilla is done, flip the piece and work the maza.
Place the holder at elbow height with your arm bent. Don’t work with the piece too low: you’ll strain your wrist and lose control.
Before you start: temperature
Ham is carved and eaten at room temperature — between 22 and 25 ºC. At that temperature the acorn fat is semi-liquid, translucent, and releases all its aroma when the slice reaches your mouth. When the piece is cold, the fat is opaque and solid, doesn’t melt, and loses most of its aromatic expression.
If the piece has been somewhere cool overnight, take it out an hour before you start. Never store ham in the fridge.
The first cut: removing the rind
With the rind knife, remove only the rind and yellowish outer fat from the zone where you’re going to start — about 10 × 15 cm, no more. The rest of the ham stays protected by its own fat for now.
The yellowish outer fat is a result of oxidation during curing. Remove it until you expose the white or pinkish fat that covers the meat. That white fat you need: use the paring knife to free the first few slices.
At the end of each session, keep a few strips of that side fat — the white, not the yellow — to cover the carving area and protect it until next time.
The perfect slice: technique
With the ham knife almost parallel to the surface of the ham, draw slices in a downward direction — always towards the hoof — using a long front-to-back stroke with the full length of the blade, without pressing.
Each slice should have:
- Length: 4–5 cm. One mouthful.
- Thickness: thin enough that light passes through when you lift it. If you can’t see the plate beneath, it’s too thick.
- Composition: a strip of marbled fat and a strip of meat. That balanced proportion gives the slice its body.
- Serving temperature: lay it directly on the plate; if it waits more than a couple of minutes the fat loses its texture.
Run the honing steel every fifteen to twenty slices. Don’t wait until you feel the edge is gone: by then you’ll have been working twice as hard and the slices will be less even.
When you reach the bone
Carving the maza, at some point the knife meets the hip bone — a hard ridge that crosses the piece horizontally. When you feel it, switch to the paring knife: work around it with cuts parallel to the bone to free the meat on either side. Don’t try to cut through it.
When the femur — the long central bone — appears, it means you’ve reached the bottom of that face. Time to flip the piece and work the other side.
The codillo and jarrete zones, once you reach them, don’t give good slices: the meat is too irregular and fibrous. Cut it into dice with the paring knife — perfect for croquettes, a soup, or a tortilla.
Keeping it between sessions
When you finish:
- Cover the carving area with the side-fat strips you set aside.
- Lay a clean cotton cloth over the whole piece — it protects from dust without sealing it (the ham must keep breathing).
- Leave the piece on the holder, somewhere cool and dry between 15 and 20 ºC. Never in the fridge.
- If you’re going more than a week without carving, wipe the surface with a cloth lightly oiled with olive or sunflower oil to prevent mites.
A well-kept piece lasts perfectly well for 2–3 months once started.
Common mistakes
- Carving cold. The fat won’t open, won’t melt, won’t taste of anything. Always wait for room temperature.
- Peeling the whole rind on day one. Only the active carving window gets peeled; the rest stays protected.
- Thick slices. Well-carved Iberian ham should be almost transparent.
- Swapping the ham knife and the paring knife. Each has its job; switching them ruins the ham-knife edge and makes precise cuts harder.
- Cutting in jerks or with pressure. A long, smooth stroke with a sharp blade does the work; force ruins it.
- Storing in the fridge. Cold destroys fat texture. Cool and dry, always away from the fridge.
- Touching slices with your fingers. Use tongs. Body heat changes the texture in seconds.
If you’d rather not carve it yourself
Carving a ham well takes practice. If you’d prefer to skip the learning curve, or don’t have a ham holder at home, we can send the ham knife-carved by our carvers in Guijuelo, in 100 g vacuum-sealed envelopes. Same ham, same quality, ready to open.