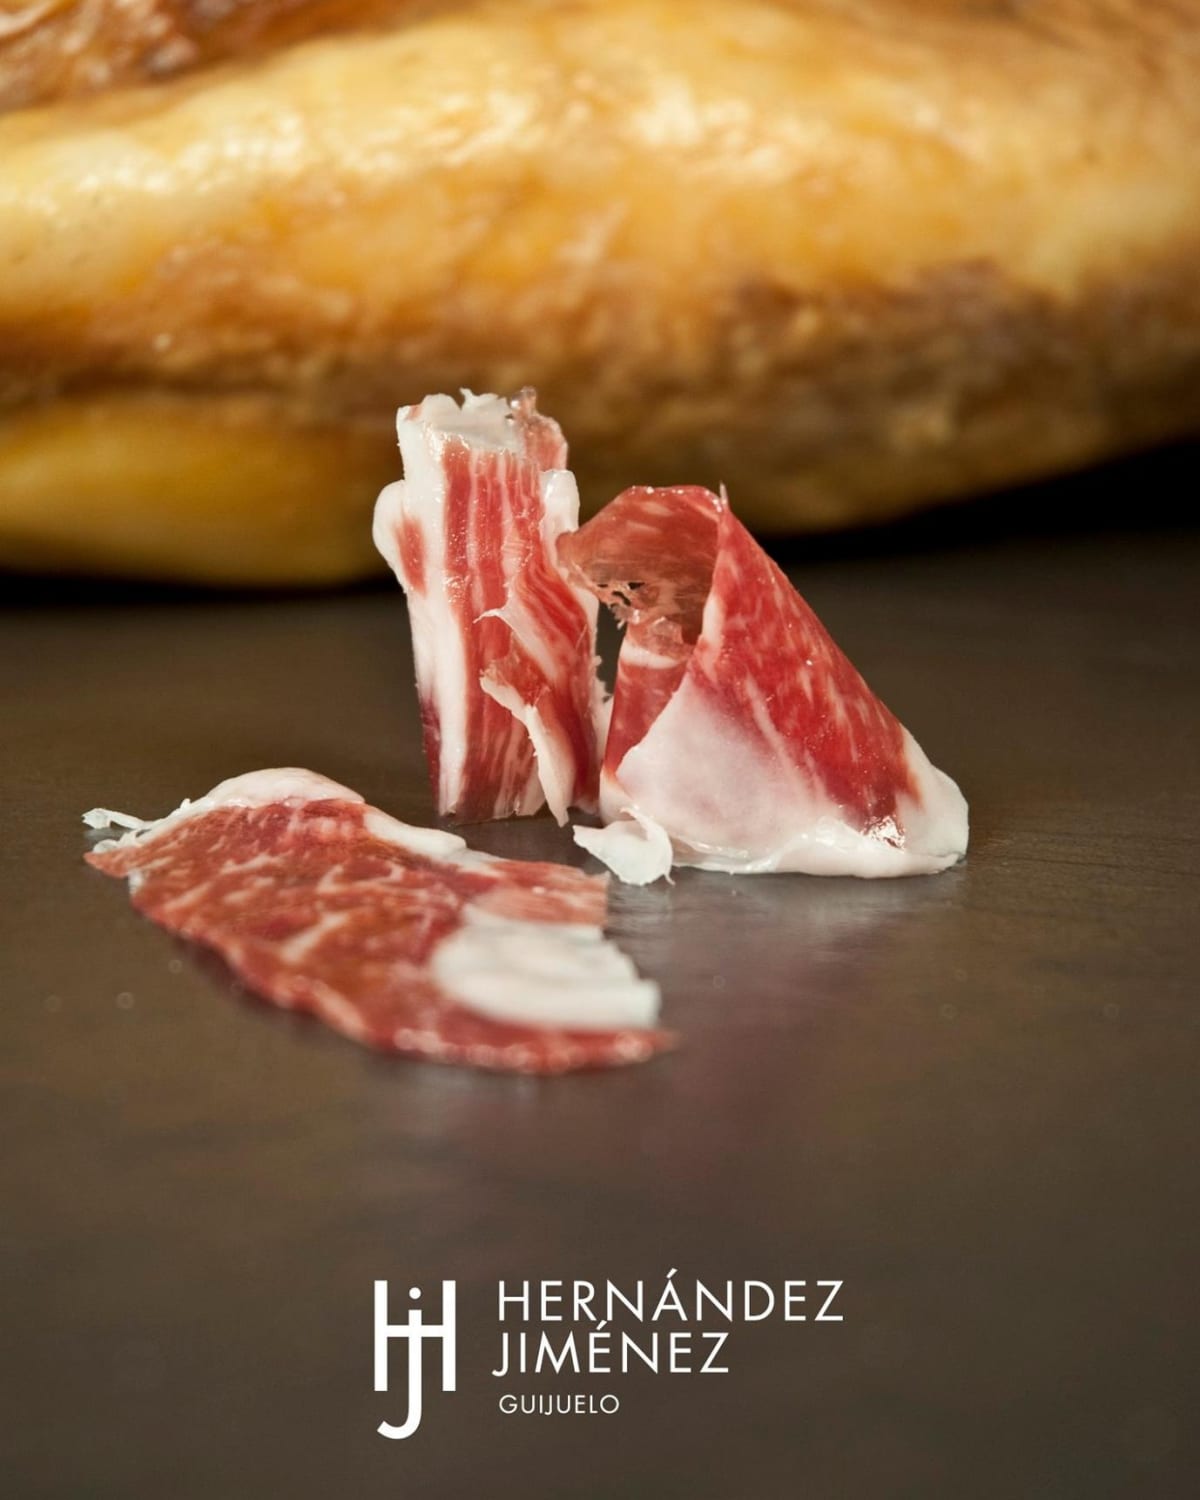
The first cut of the ham: the ritual we learned over four generations
We remember our first cut perfectly. María del Mar was 14. Her father passed her the knife and said: “Slowly. The ham isn’t in a hurry, and neither are you.” After 130 years in Guijuelo, we know something few people know: the first cut of a piece isn’t a technical gesture, it’s a ritual that defines the whole experience that follows.
In the cellar we see it every week. A new piece arrives, someone sets it on the holder and starts pulling slices in a hurry, as if the ham were going to escape. We, by contrast, stop. We look at the leg’s profile, we feel the cover fat, we decide where we’re going to start and why. That minute of pause is what separates a well-used piece from an abused one.
In this article we tell you how we do it, with the same sequence we teach to those who come to see us at our facilities in Guijuelo. It isn’t the only way to carve ham, but it’s the one Felipe Hernández Jiménez taught us in 1890 and the one each later generation refined to this day.
What you need before starting
Before touching the piece, prepare the table. Carving well starts with having what’s needed within reach.
- A stable ham holder. One that doesn’t wobble. If the piece moves while you carve, you’ll have to correct and you’ll lose slices. We prefer solid-wood holders with an adjustable metal clamp; cheap folding ones usually loosen within a few months.
- Three knives. It isn’t marketing, it’s craft. A long, flexible ham knife (26 to 30 cm) for pulling the thin slice. A wide knife or chef’s knife, for removing rind and outer fatback. And a short paring knife, for cleaning around the bone and finishing edges.
- A clean cotton cloth to keep the edge free of fat and, above all, to wipe the blade after each series of slices.
- A firm table at waist height. Carving stooped or too high strains the lower back and ruins the knife angle.
In the Hernández Jiménez family the knives last for decades. The ham knife our master carver uses in the cellar today is the same one María del Mar’s father sharpened first thing in the morning in the nineties. Good steel, well cared for, lasts longer than a car and cuts better every year.
Maza or contramaza: when to start where
Here’s the first decision, and it’s the one most people get wrong. The question isn’t “where do you carve the ham?”, but “in how long am I going to eat it?”.
- Quick consumption (less than 15 days): start with the maza. It’s the juiciest face, the one facing up with the hoof on top. It has more infiltrated fat and more volume, so it gives more slices and better flavour. As you’ll finish the piece soon, you don’t worry about it drying from exposure.
- Slow consumption (more than three weeks): start with the contramaza. It’s the opposite face, narrower and with less infiltration. By eating it first, the maza stays intact, wrapped in its own fat, and keeps better over weeks or months.
In the cellar, when we taste a piece to validate a batch, we always start with the maza. It’s the only honest way to understand the infiltrated fat, the background sweetness and the real texture of the cure. But that’s a control cut: we take four slices, note them down and the piece returns to the circuit.
If you’re in doubt, assume quick consumption and start with the maza.
Anatomy of the ham: the four areas and what to look for in each
A ham isn’t a homogeneous piece. It’s a map, and each area tastes different. In the guided tastings in the cellar we take a control slice from each area and serve them separately, so the guest understands they’re eating four hams within the same ham.
- Maza. The upper face with the hoof on top. The noble area: maximum infiltration, deep red colour, pearly fat and long aromas.
- Contramaza or babilla. The opposite face. Narrower, with less infiltration and a pleasant touch of dryness. Expert tasters often like it as much as or more than the maza.
- Punta. The end opposite the hoof. Small but very tasty, with the most intense fat of the whole piece.
- Jarrete. The area near the hock, next to the shank. Longer fibre and a more rustic flavour. It’s cut into small dice, not into slices.
The house’s master carver always starts with a tasting cut from each area before serving. It’s a small gesture that changes the evening: the table understands what it’s eating and why each slice tastes different.
The first cut step by step
This is the exact sequence we teach in the cellar. Take ten minutes. Don’t rush.
- Set the piece on the holder with the maza up if you’re going to eat it quickly, or with the contramaza up if you’re going to make it last. Adjust the clamp until the shank doesn’t move when you push with your palm.
- With the wide knife, remove the rind and the outer fatback until you reach the lean. Don’t remove more than you’ll carve in this session. Keep the fatback shavings: we’ll use them at the end to cover the cut.
- Mark a deep cut perpendicular to the bone at the level of the band, right where the PDO seal sits on the leg. That transverse cut is your “stop”. If you have doubts about how to identify the band and the seal, we explain it in our guide to bands and seals.
- With the long ham knife, and with lengthwise movements in the hoof-to-tip direction, separate very thin, almost translucent slices. A width of 4 to 6 cm; thickness, as thin as your hand allows. If you see the silhouette of your fingers through the slice when you lift it, you’re doing well.
- Rest the knife gently and let the weight of the blade do the work. Don’t push. Well-sharpened steel cuts on its own. Pass the blade over the cloth every four or five slices.
- The first slices may not come out perfect. Don’t get frustrated. Our master carver takes 30 pieces to be satisfied with his technique when training someone new. The first cut of your life won’t be a professional’s, and that’s fine.
When you finish the session, remove the small bits around the bone with the paring knife and keep them: they’re the perfect base for some broken eggs the next day.
Mistakes we see daily in our visitors
The errors repeat in the people who come to learn to carve in the cellar. If you know them before starting, you save yourself weeks of practice.
- Cutting slices too thick. A thick slice looks more generous but chews worse, releases less aroma and the diner tires sooner. Better six very thin slices than three thick ones.
- Starting in the wrong area for the consumption pace. If you’re going to take two months to finish the piece and you started with the maza, you’ll reach the end with the ham’s best face leathery. Decide beforehand, not after.
- Not saving the fatback shavings to protect the cut. Those shavings aren’t rubbish: they’re the natural cover that stops the exposed surface oxidising between sessions. If you throw them away, you don’t protect the cut and the piece dries out halfway.
- Carving cold. Iberian ham is served at room temperature. Acorn fat starts to melt in the mouth above 22 ºC; from the fridge it’s solid and tastes of nothing. Take the piece out 30 minutes beforehand in summer and at least an hour in winter.
- Over-rushing the first tasting cut. The first two or three slices that come out, right above the freshly uncovered lean, aren’t representative of the real flavour. They’re the ones carrying the most oxidised surface. Eat them yourself or keep them for another use, but don’t serve them to the guest: what they should taste is the fourth or fifth slice.
How to protect the cut between sessions
When you finish carving, don’t leave the piece exposed to the air: the lean surface oxidises within hours. Cover the cut area with the fatback shavings you kept, placing them like a roof with no gaps. On top, a layer of cling film, well fitted. And over the film, a clean cotton cloth. Protected like that, the piece lasts weeks without losing quality.
If you want to go into detail (the ideal room temperature, what to do if white mould appears, when to discard an area), we develop it in our guide on how to keep your ham.
FAQ: first-cut questions
Can I carve the piece while it’s cold? Not advisable. Acorn fat when cold is solid and the slice comes out stiff, without aroma. Take the piece out at least 30 minutes beforehand in summer or an hour in winter.
Do I have to clean the ham before starting? If it’s been stored for a long time, remove the surface white mould with a cloth dampened in virgin olive oil and dry with a clean cloth. White mould is normal in natural curing. If mould of another colour appears (green, grey, black), remove the affected area with the paring knife.
And if my first cut comes out ugly? It’s going to come out ugly. Almost all of us had an ugly first one. Don’t throw away what you’ve cut: dice it for broken eggs or pumpkin soup. The slice’s shape will improve by the fifth session; the flavour is already there from the first cut.
Can I turn the piece over? Yes. When you no longer get a comfortable slice from the maza, remove the piece, turn it over and work the contramaza. Adjust the clamp for the new position. The holder is designed for this.
What do I do with the bone at the end? Don’t throw it away. The Iberian ham bone, chopped, is the best base for a stock, a stew or lentils. It concentrates fat, salt and the aroma of three years of curing. If you’re not going to use it, freeze it in portions.
Is it better to carve by knife or order machine-sliced? It depends on the moment. By knife, at a table with guests, there’s no comparison: the slice comes out alive, glossy, with all the aromas in their place. By machine, in vacuum slicing, you gain convenience and shelf life but lose texture. At our company we do both and defend both equally.
Carving a ham well is one of those small crafts that stays with you all your life. María del Mar has had the knife since that summer at 14; our master carver in the cellar has more than three decades. Every piece that passes through their hands is different and yet the ritual is always the same: pause, look, decide, knife.
If you don’t have the piece yet, look at our 100% Iberian Acorn-Fed Ham, Guijuelo PDO. If you already have it at home and you’re going to make your first cut this weekend, write to us: we like to know how it goes.